 "Jake - Has Bad Luck So You Don't Have To" (murdersofa)
04/23/2018 at 14:54 • Filed to: fast not loud, drive fast not loud, two wheels good, kawasaki, vulcan 500, vulcan, LTD, project, bike
 4
4
 1
1
 "Jake - Has Bad Luck So You Don't Have To" (murdersofa)
04/23/2018 at 14:54 • Filed to: fast not loud, drive fast not loud, two wheels good, kawasaki, vulcan 500, vulcan, LTD, project, bike |  4 4
|  1 1 |
Time goes on, circumstances change and sometimes what was a horrible idea before becomes an even worse idea and it’s time to cut your losses. As such I recently moved to a new apartment which is better than my old one in every way except one detail: I was not allowed to bring my project car 1977 Jaguar XJ-S with me so on Craigslist it went. I’ve sold a lot of cars on Craigslist and I am not sure if it’s a sign of the times or a sign of the car but the XJ-S garnered more facebook inquiries and emails than any car I had sold until this point. Unfortunately while showing it to one interested party I pushed the gas pedal and the car slowly crept forward. Not great. After trying my best to play it off I took a look the next day and found instead of nice red ATF the transmission was filled with a grey liquid that I determined was probably a mixture of water from the radiator and friction material from the clutches. Lovely.
This article is copied from !!!error: Indecipherable SUB-paragraph formatting!!! , a long-form blog about vehicles and the people who own them. There is also a !!!error: Indecipherable SUB-paragraph formatting!!! .
Now stuck with a deadline of 1 week to get the Jaguar gone and now stuck with no transmission I wasn’t super sure of my chances of actually getting something worthwhile for it. My biggest fear was that I would be stuck scrapping it for $100 and a disappointed expression from the tow truck driver. Fortunately I soon received a text.
!!!error: Indecipherable SUB-paragraph formatting!!!
Trade for Vulcan 500?
…well, sure.
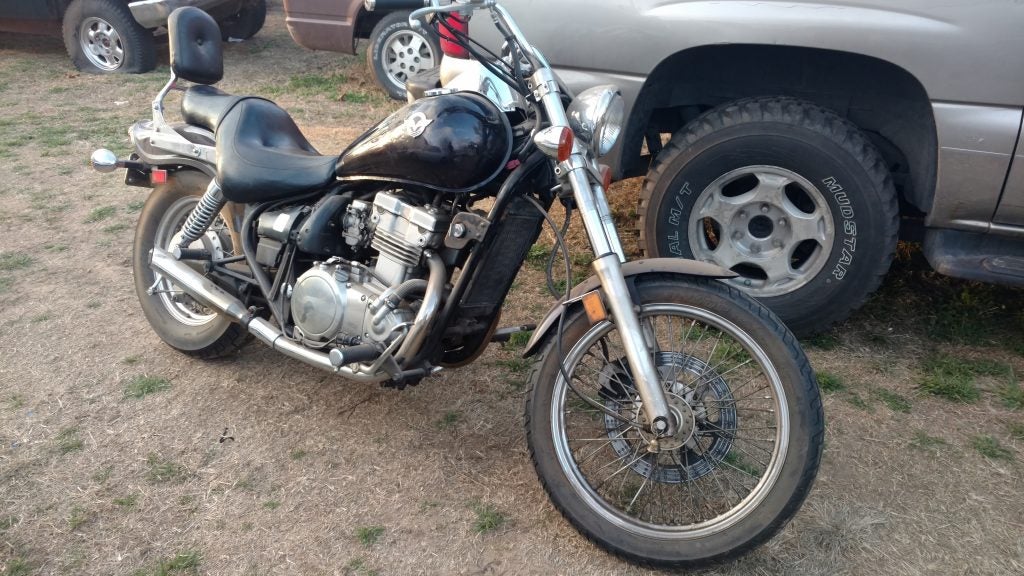
Behold the 1996 Kawasaki Vulcan 500. A bit of an ugly duckling as far as cruisers go with the duck-tail rear fender and somewhat lumpy looking seat, but it satisfies my love of strange things owing to the engine lifted straight from a Kawasaki Ninja 500 sportbike and unceremoniously dumped into a mid-sized cruiser. 500cc parallel twin, 6 speed transmission, front disc/rear drum, large (ish) fuel tank, a seating position not entirely unlike sitting on a couch, and it weighs significantly less than the CX500 I had before, oddly.
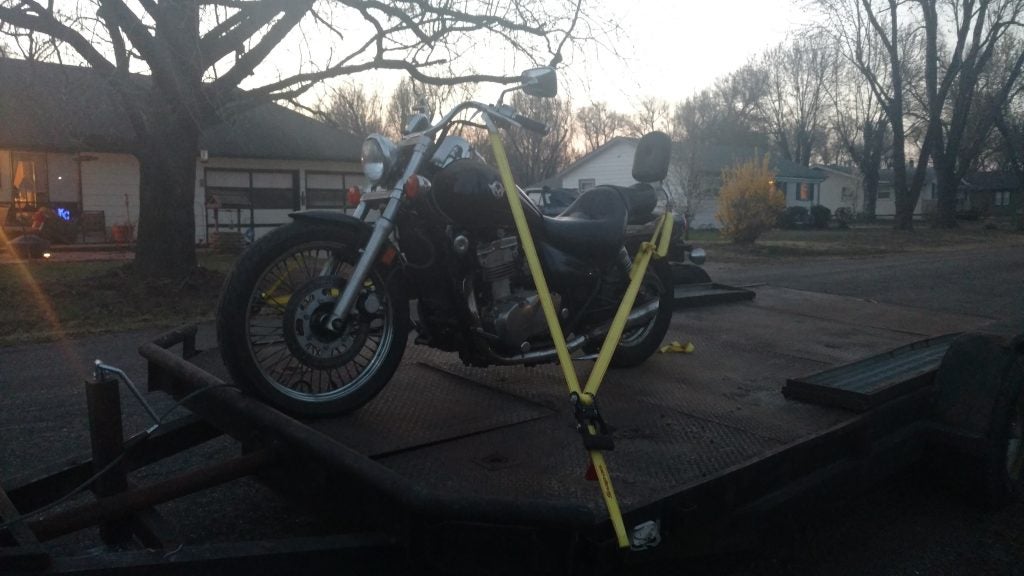
Important stats:
500cc DOHC 4 valves per cylinder
50hp @ 8500rpm
472lb wet weight
After a quick spin around the neighborhood on one cylinder we loaded the bike up and went to get the Jag
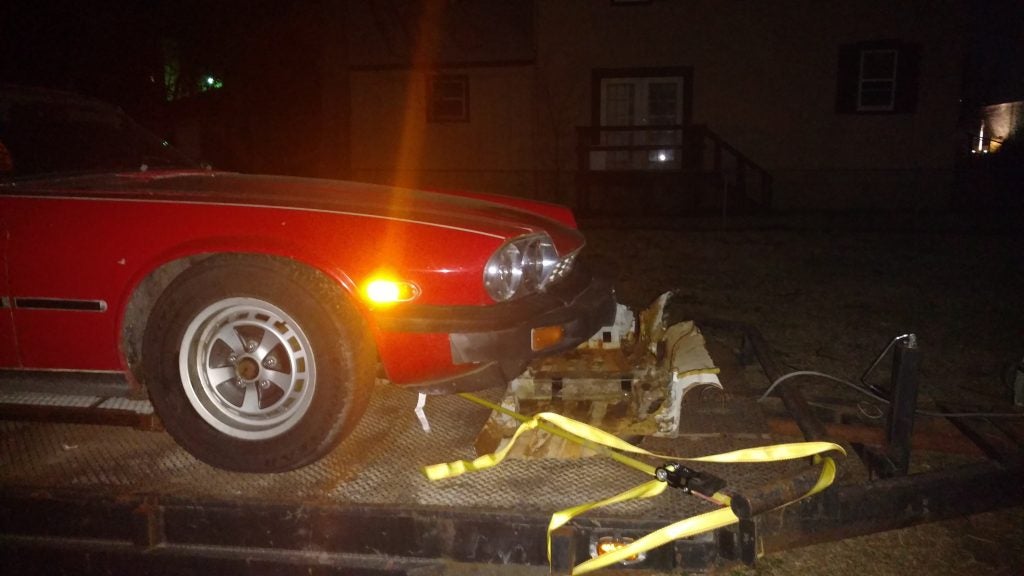
Trade complete! Time to disassemble immediately.
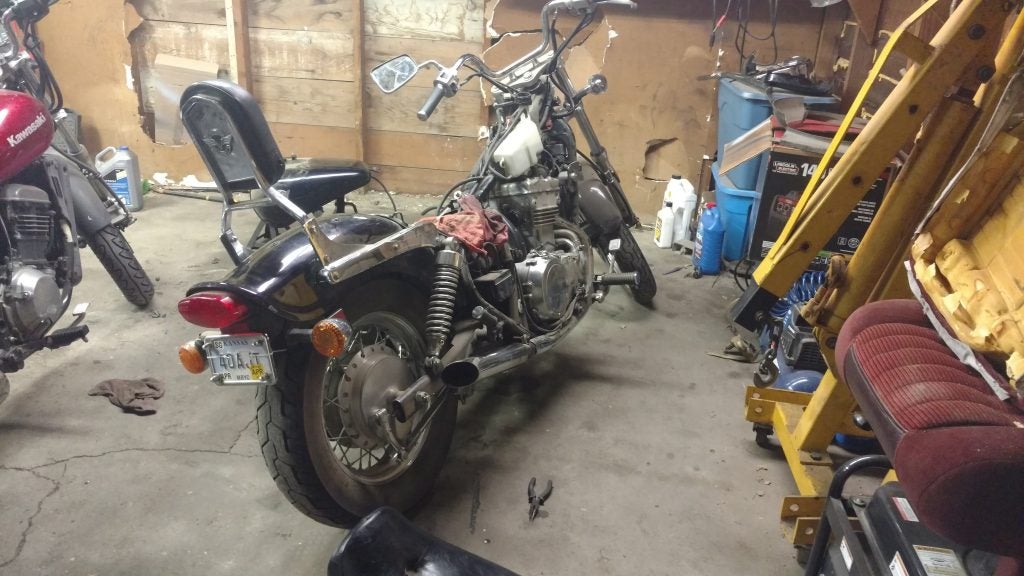
After sitting in a garage for over a year the Vulcan was not a happy camper. Starting it was nearly impossible and once it was started it would only run at high RPMs. Idling just didn’t happen and it seemed to be running on only one cylinder.
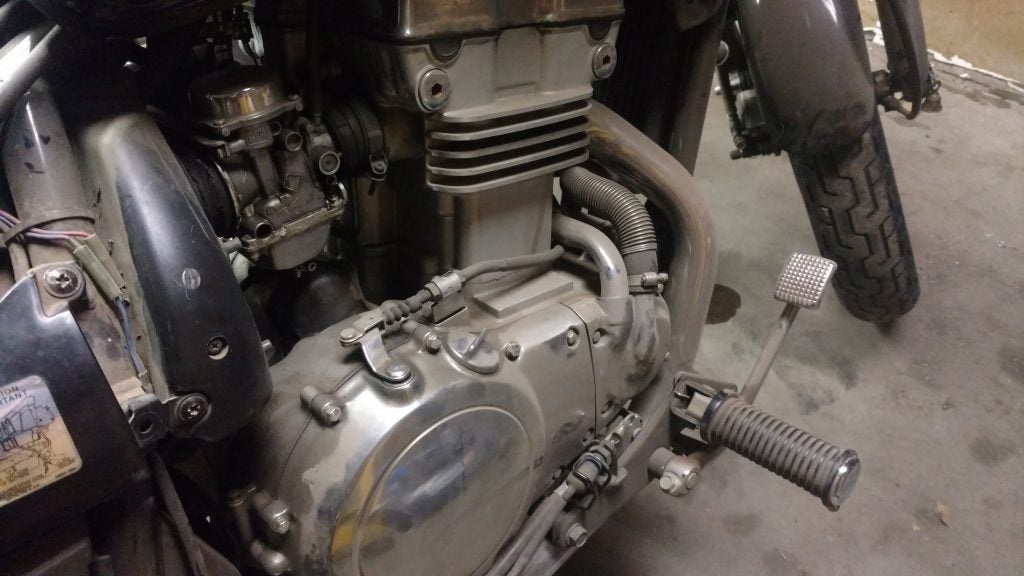
It definitely shows its age.
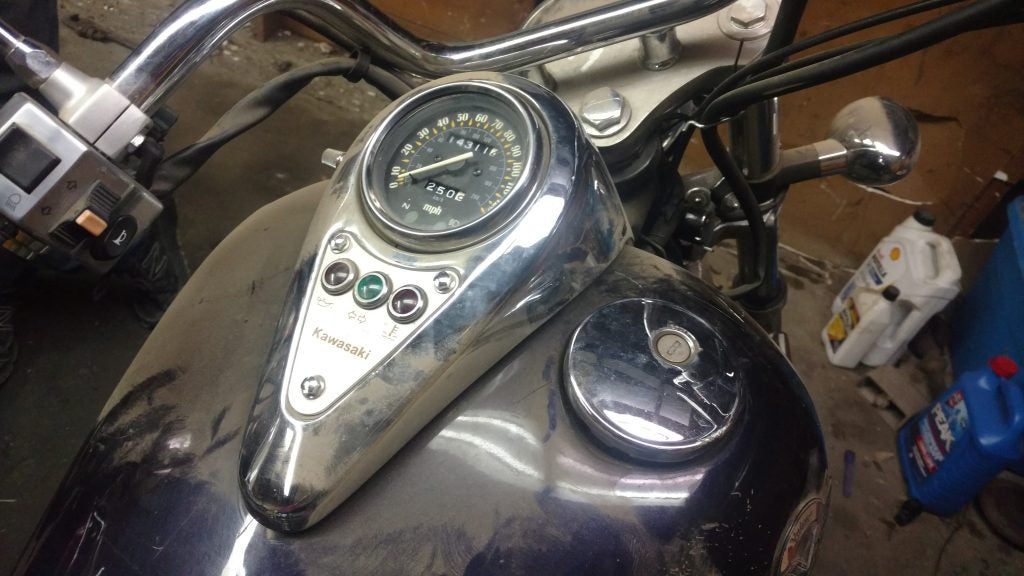
Despite having only 14k miles the tank is pretty battered though thankfully rust-free.
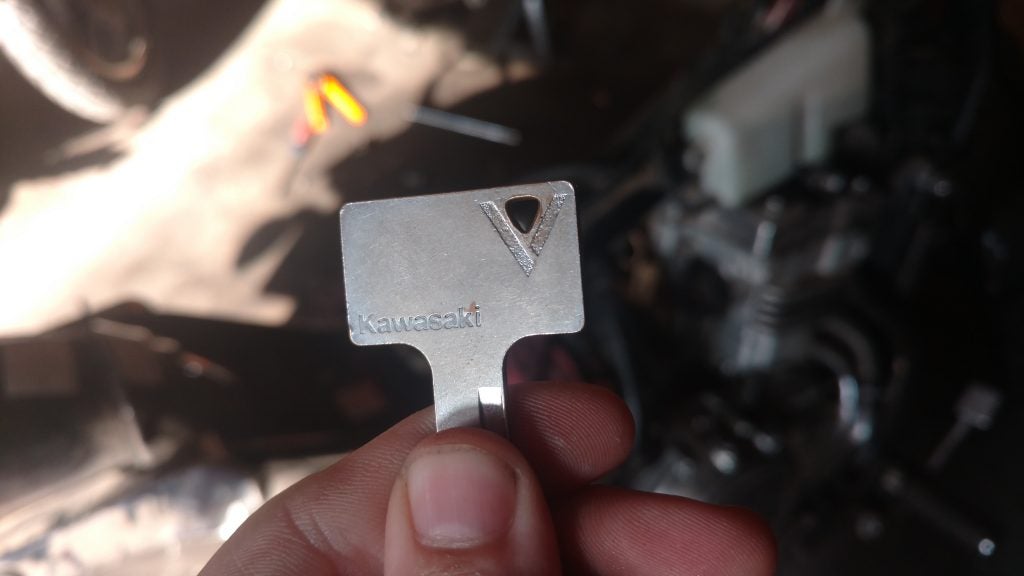
The key is pretty cool. V is for Vulcan.
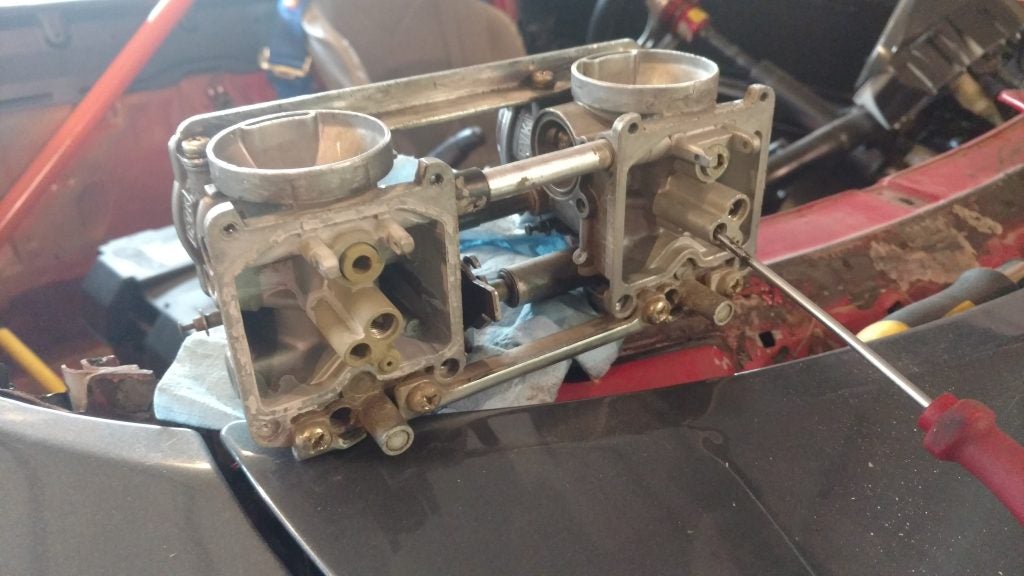
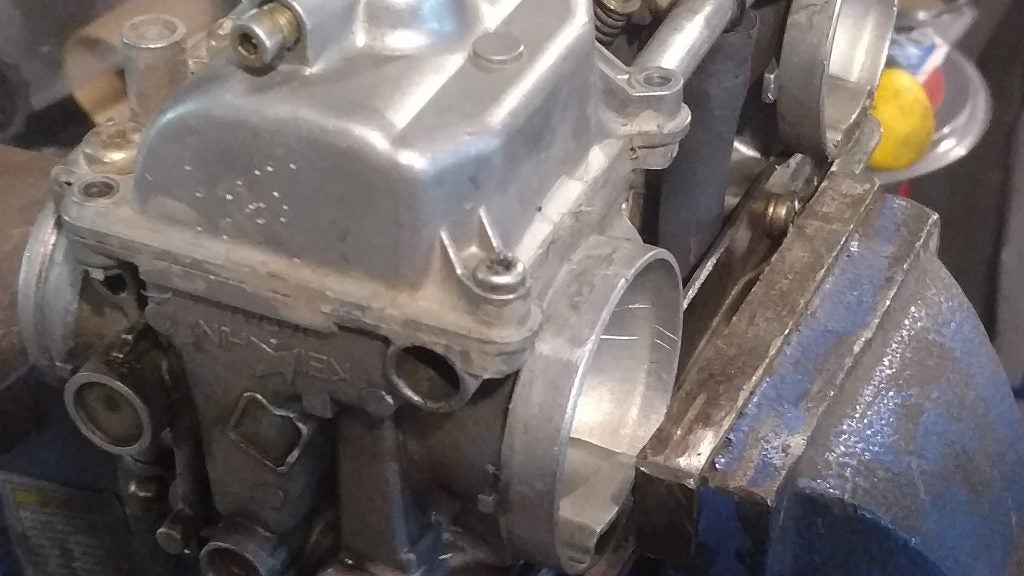
Immediately the carbs were removed and disassembled. Stripped fasteners and globs of RTV on the float bowls told their own story as we peeled back layer and layer of this bike. The carbs themselves didn’t seem all to terribly dirty but the RTV did not inspire confidence. I ordered a rebuild kit and went nuts with the carb cleaner spray.
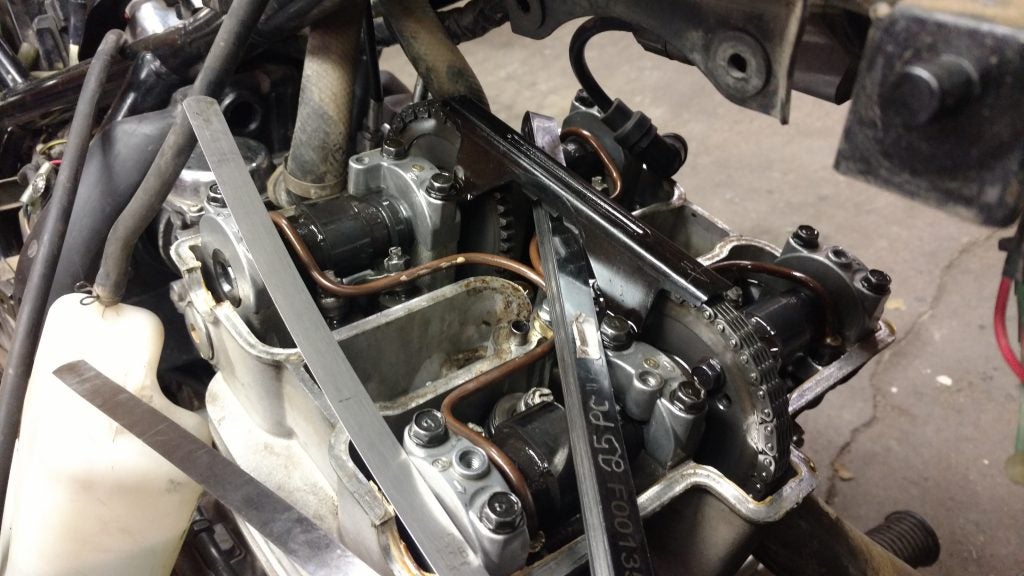
While waiting for the rebuild kit to arrive I did a valve adjustment, due at 12k miles but very probably not done. As these bikes age the valves actually get tighter against the cam and will eventually not close all the way which can burn the valve seats and melt the valves. No bueno. While turning the engine over to align the cam I heard a hiss from the plug wells. I looked down and saw bubbles coming up through the coolant that had puddled in the well.
After removing the spark plugs to figure out why compression was leaking past them I noticed they were missing their metal gaskets that seal against the head. A peek down the spark plug holes revealed the gaskets were crammed in the heads and packed full of grime.
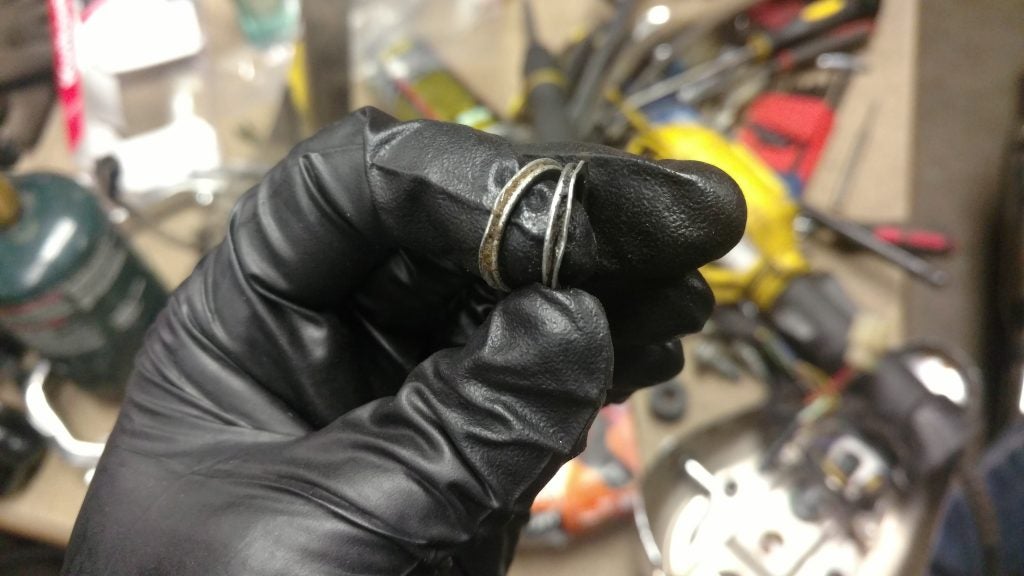
Two hours of prying with a pick and a screwdriver revealed these two glorious nasty wedding bands. Packed full of dirt and crud and not sealing at all. I have absolutely no idea how these got smashed into the heads that bad in the first place but it was a huge relief to pop in a couple of fresh spark plugs and hear them sealing against the head instead of letting out a pssshhhh with every compression stroke.
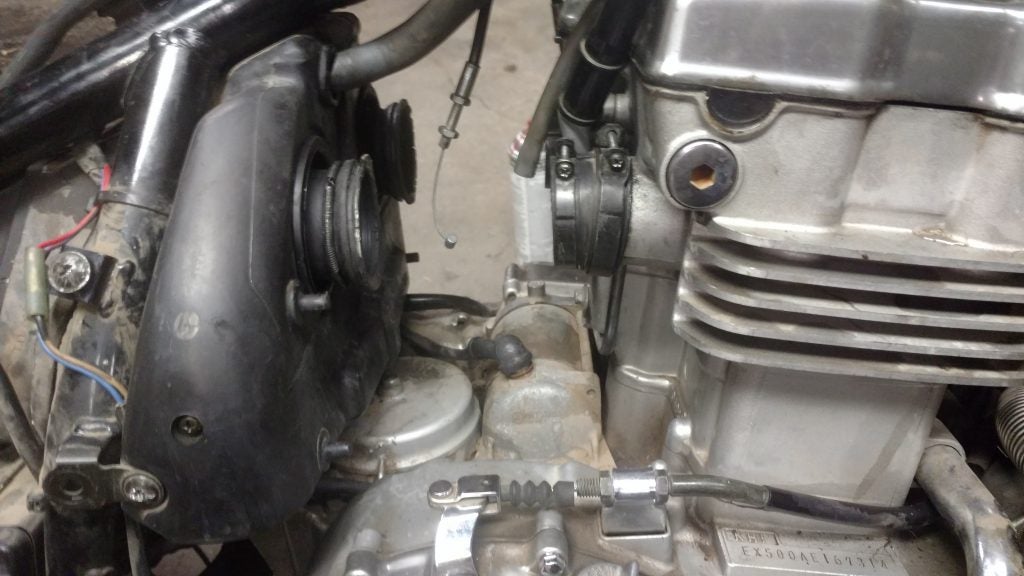
One massive unrelenting struggle through this whole thing was getting the carbs in and out of the bike itself. The airbox does not slide back thanks to the “ears” that butt up against the frame, and obviously the engine doesn’t go anywhere. Cramming the carbs back in here requires heating up the aged rock-hard rubber with a heat gun until it gets all nice and pliable and then smashing the carb in place using your fingers and a blunt screwdriver to peel the rearward boots over the carb inlets. At one point I pulled off the rubber gloves I was wearing and parts of my fingerprint went with them. Definitely a party.
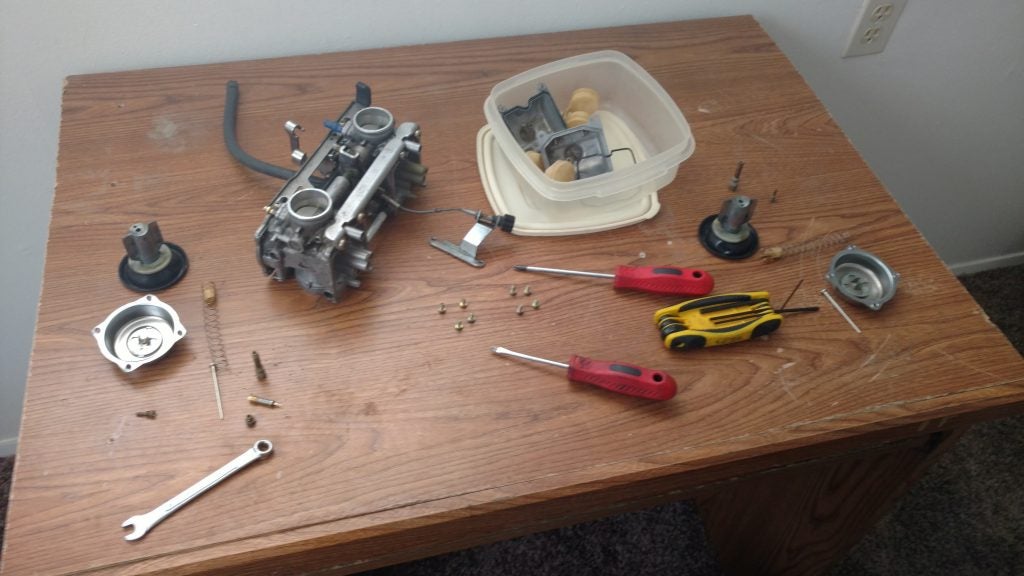
Fortunately the carbs themselves are relatively simple and come apart like a big ol lego set.
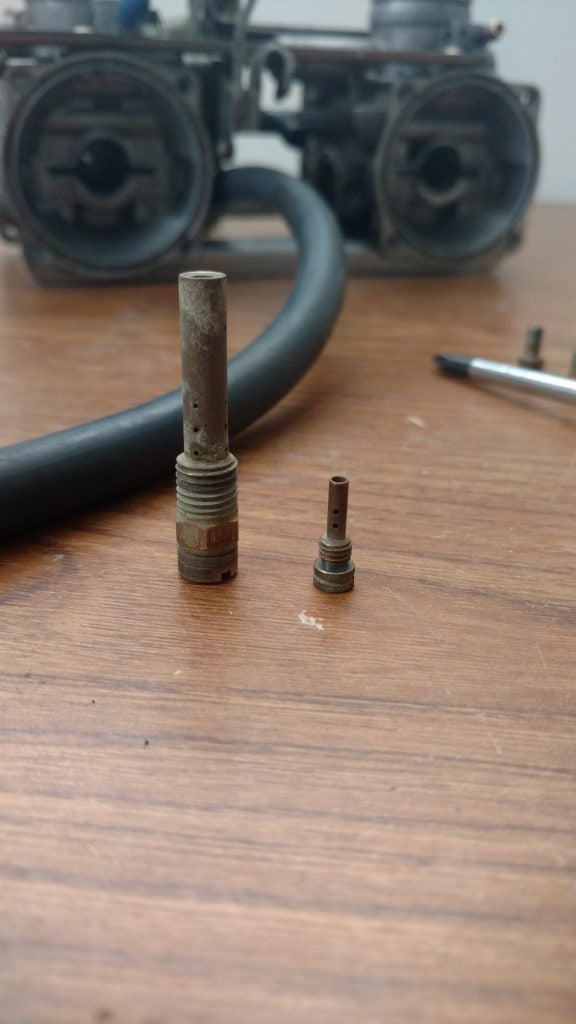
Main jet on the left in its holder/emulsion tube, pilot jet on the right.Main jet screws into the emulsion tube.
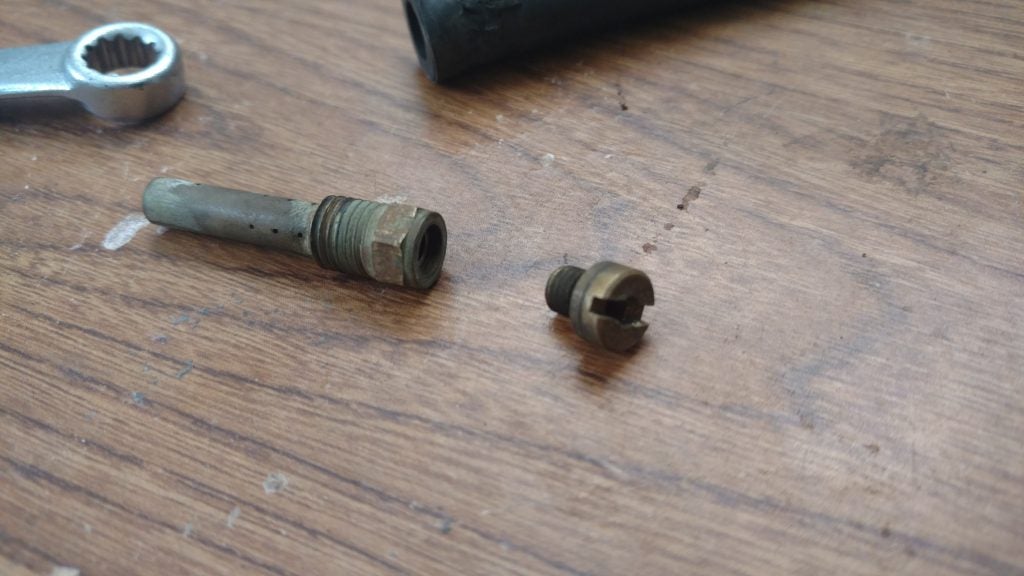
Main jet screws into the emulsion tube.
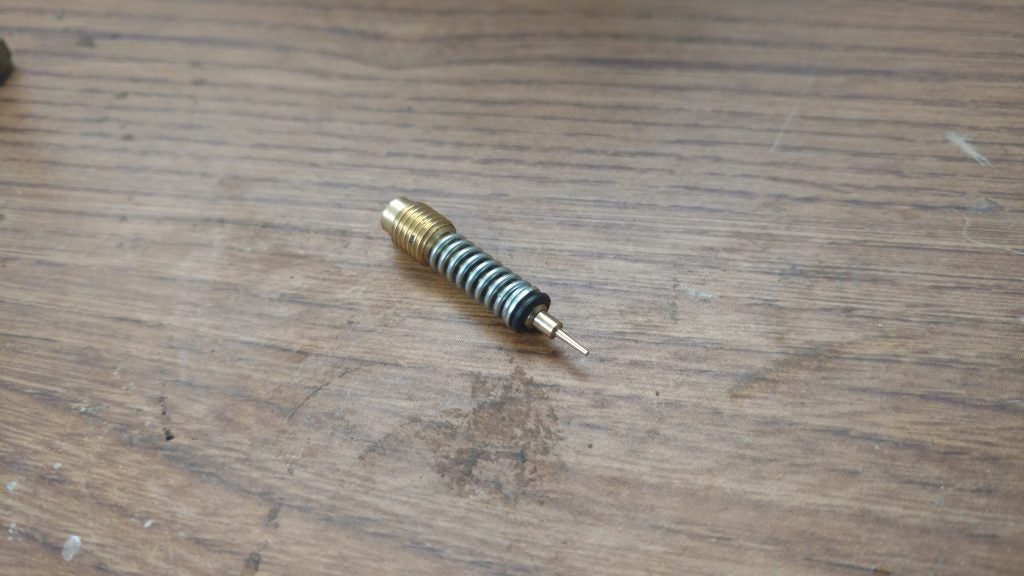
A part of the rebuild kit was this new pilot screw, spring, washer, and rubber o-ring.
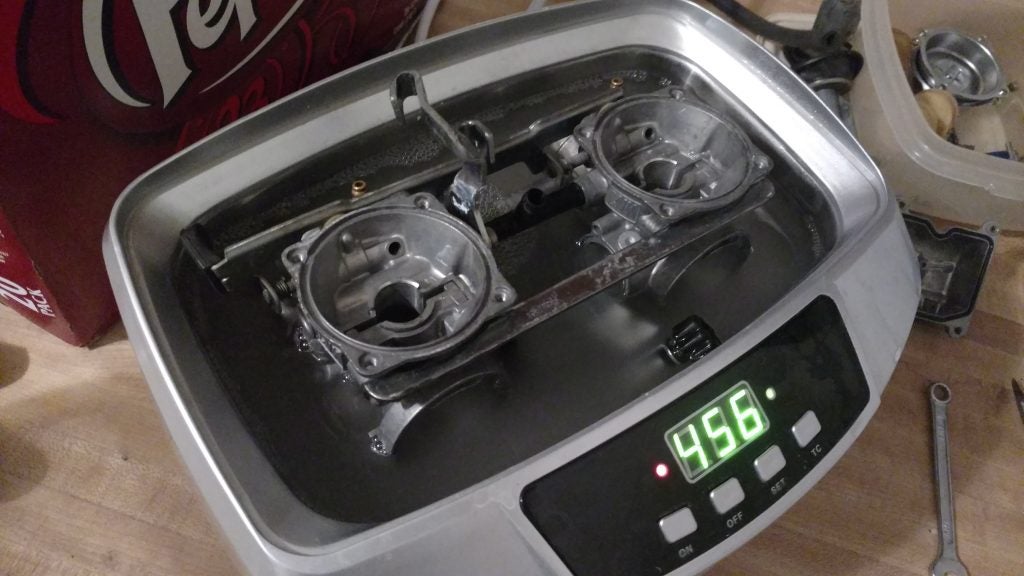
And into the ultrasonic cleaner it goes!
This happened 6 times. I made a video of one of them. Here it is.
And the reassembly
And this song and dance took 6 iterations before finally working. But hey, it could be worse.
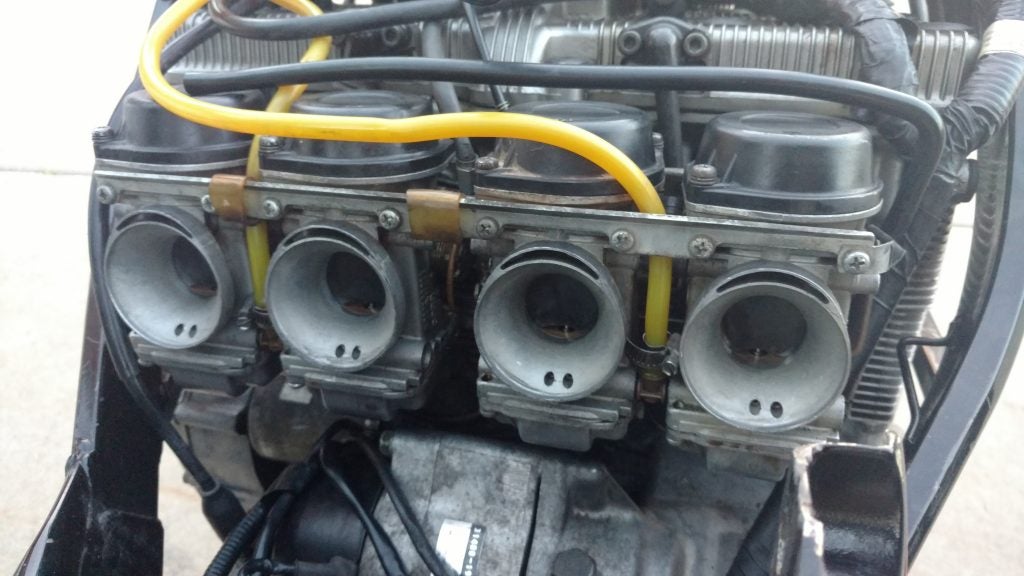
I could have four carbs like my buddys bike. Eugh.
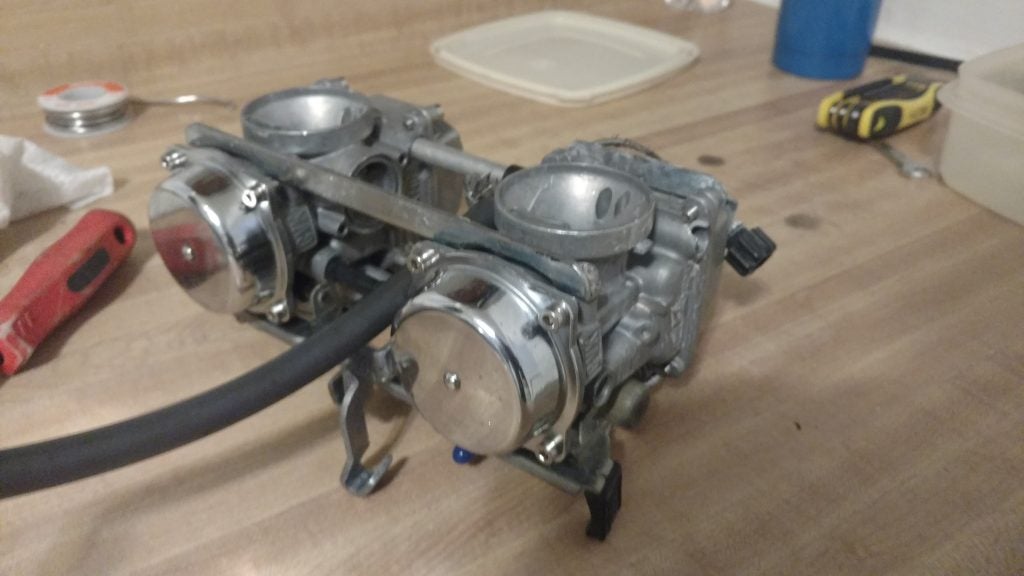
Clean!
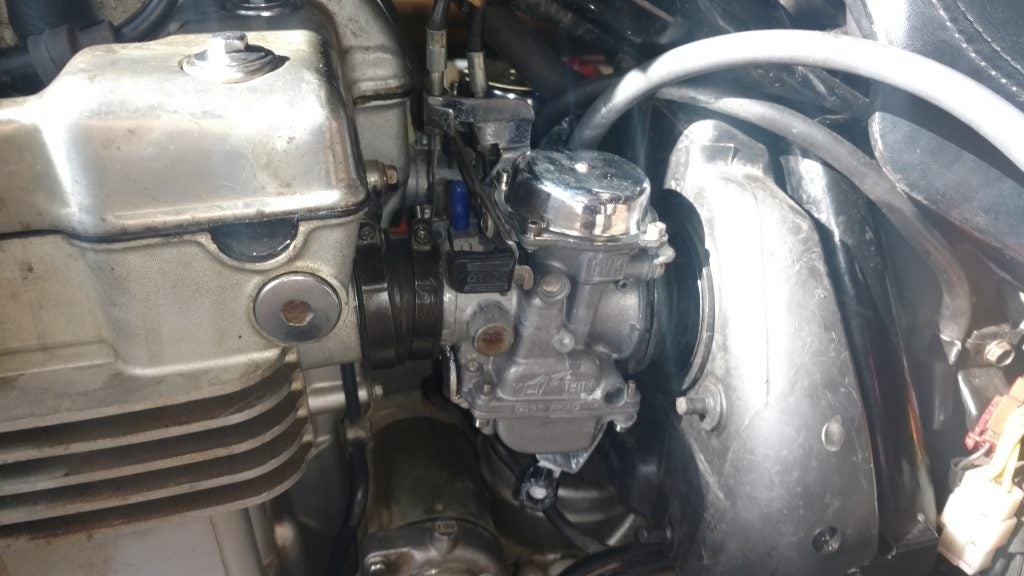
Installed!
And also the wrong main jets!
The whole time I was cleaning these I had some doubts that the main jets, labeled “135” were the wrong size. Stock size main jets in a Kawi 500 are #102. Pretty obvious that they’re different right? Well, not really. The numbers on jets are measured using two different schools of thought: explicit aperture size, and flow rate. So for some manufacturers #135 might mean 1.35mm. For other manufacturers #135 is 135ccs per minute of fuel flow. OEM Kawasaki jets, according to the internet, are measured in MM. So a stock jet would be 1.02mm.
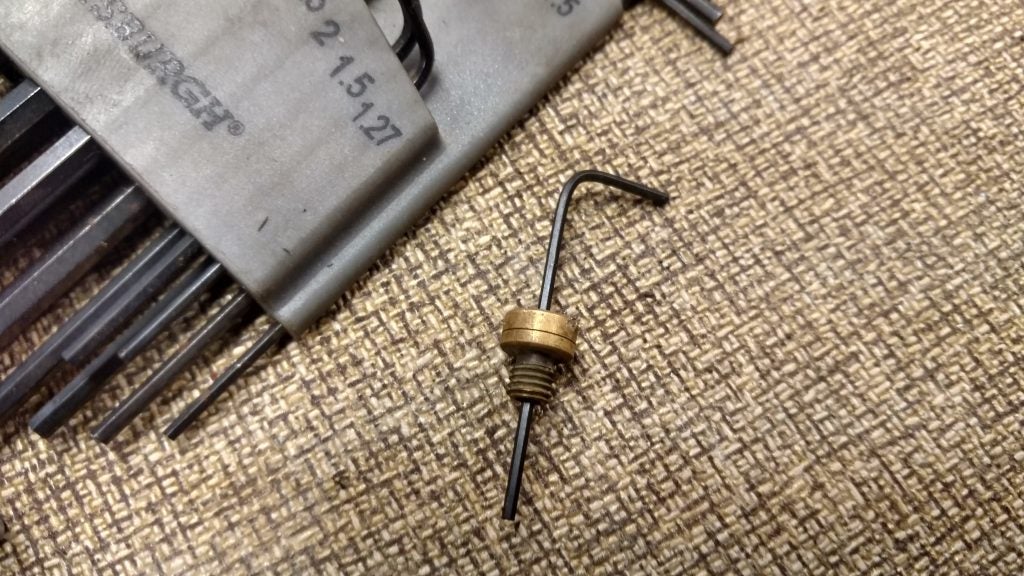
A 1.27mm allen key fit easily through this jet, so it likely uses the same measuring system and is 1.35mm which is grossly oversized for this application.
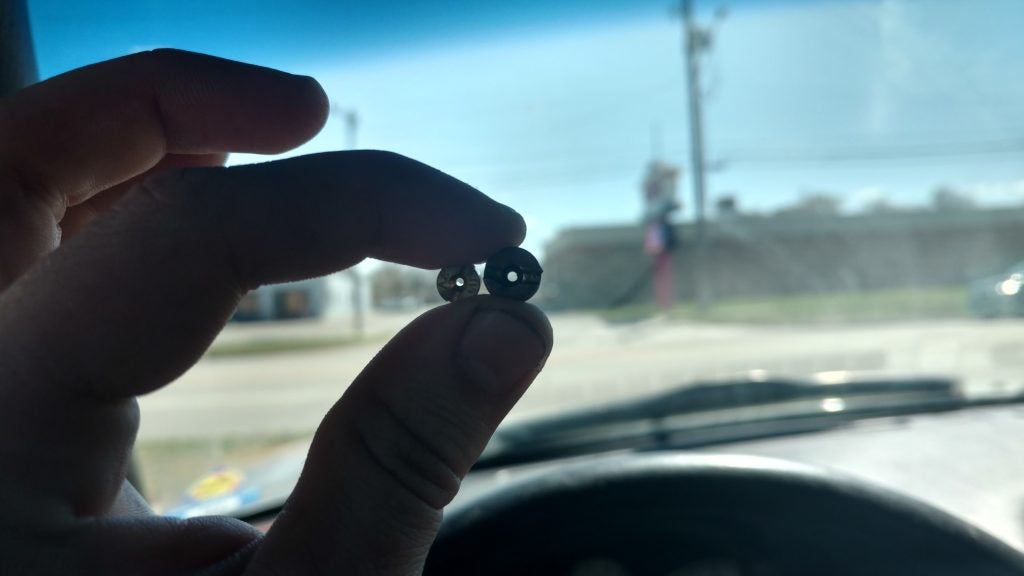
One quick trip to the dealership later and I had a #105 jet set in hand. Here it is compared to the #135. You can see the difference. Why not a #102? They didn’t have them in stock but said this was “close enough”. Got it.
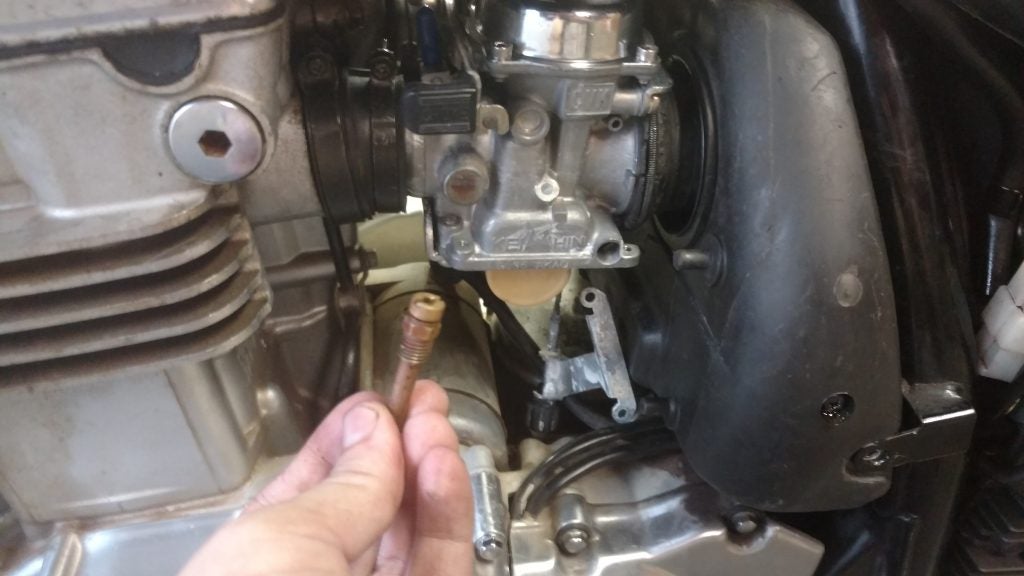
Unwilling to remove the carbs to swap jets I managed to wiggle the bowls out and pull the jets with the carbs in place. The bowl gaskets fought me hard on the way back in but a few dabs of super glue on the gasket channel on the bowl kept them held in place well enough to slam the bowls back onto the carbs.
The bike fired and ran much better but when we pulled it back in there were some new additions to the floor.
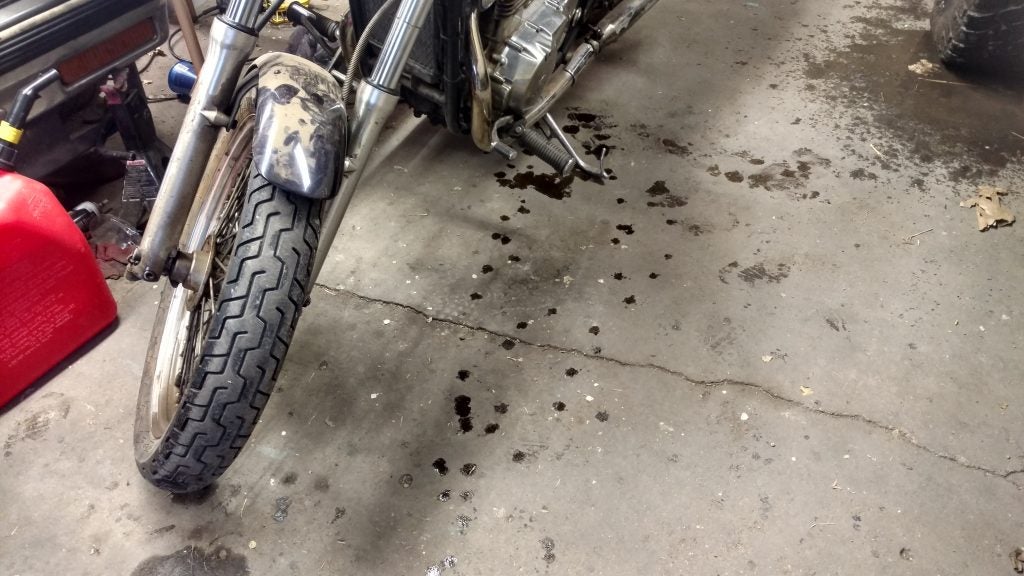
Suspecting a leaky crank cover I went to drain the oil by cutting up a 1 gallon jug to use as a catch can for the ~3 quarts of oil that these bikes hold. After dropping the oil plug and turning around for a moment to wipe the oil off I turned around to a view of absolute floor annihilation.
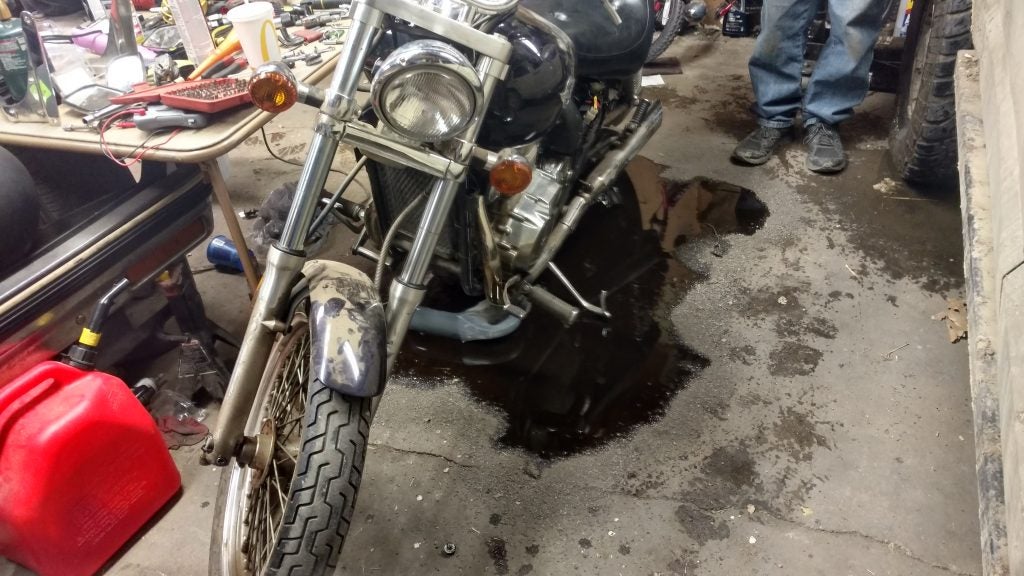
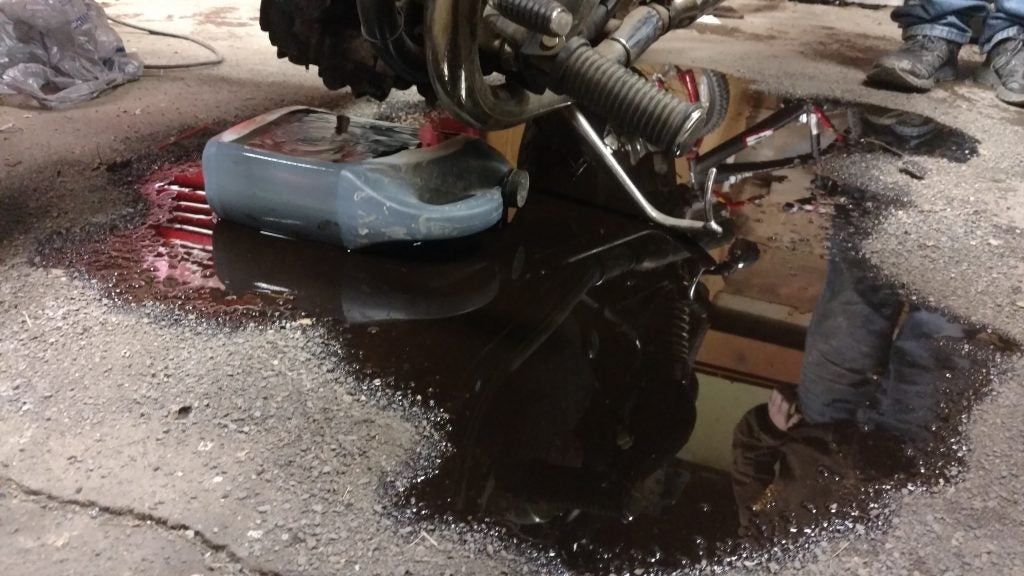
Roughly two gallons of gassy oil quickly overflowed from the catch pan and spilled all over the floor. Fortunately the gas helped keep the oil from soaking into the concrete too bad but it was still a super swell time.
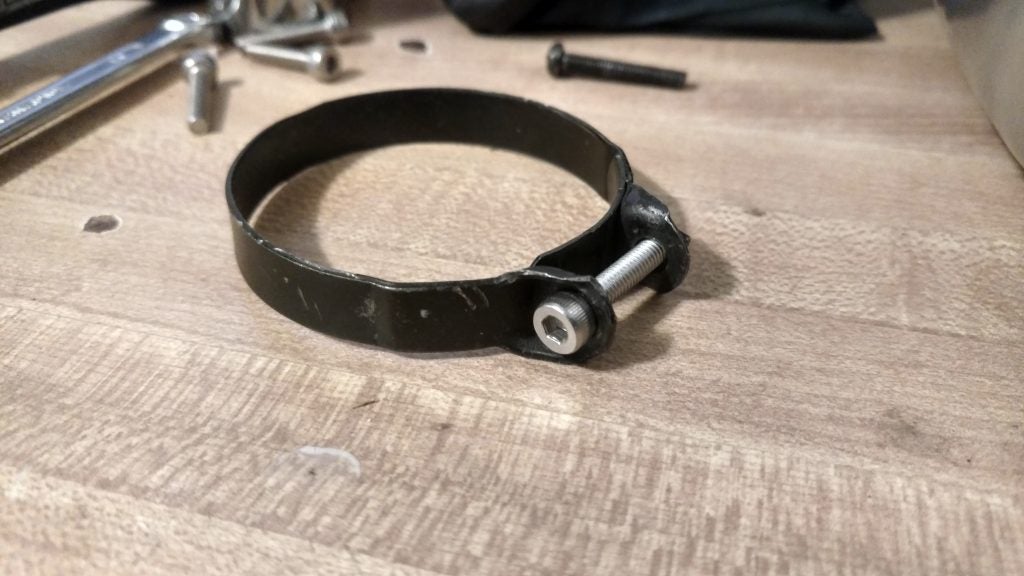
One constant this whole time was replacing Phillips (or JIS) screws with these deep Allen head stainless ones from the local hardware store. At roughly $1 apiece they’re kind of on the pricey side for bulk fasteners but they don’t strip out at these torque levels and a small Allen key (I believe these are 4mm head) is far easier to keep in a tool kit than a myriad of bulky screwdrivers.
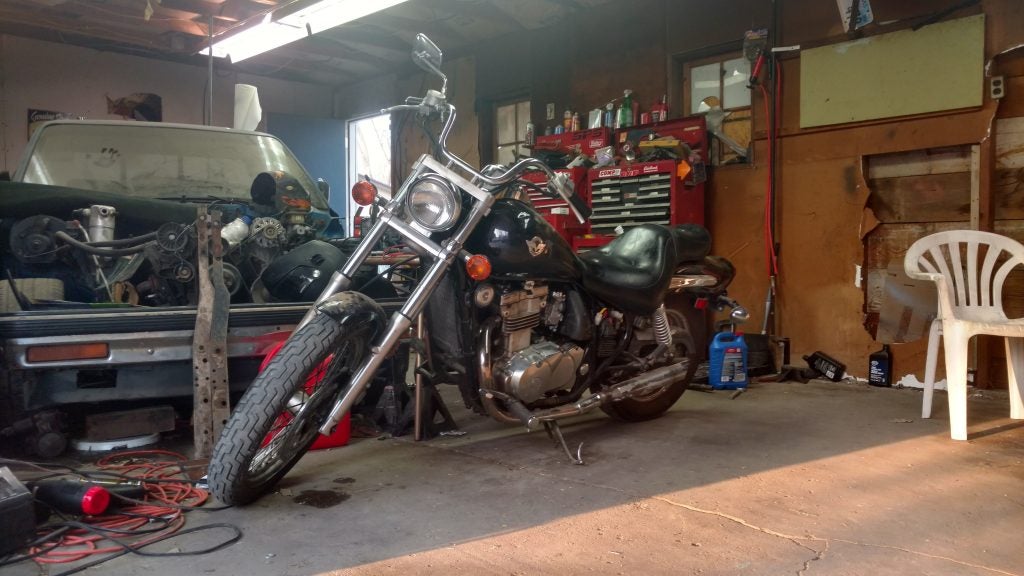
Once I got all of the clamps replaced and tightened down properly the bike was one idle adjustment away from running! Grand total spent to this point is an estimated $120 on fluids, air filter, rebuild kits, jets, etc. but the bike is running great. A video will hopefully be coming soon on this gem of a value cruiser.
 punkgoose17
> Jake - Has Bad Luck So You Don't Have To
04/23/2018 at 15:35 |
|
After the oil draining incident I am surprised it is working properly now.